
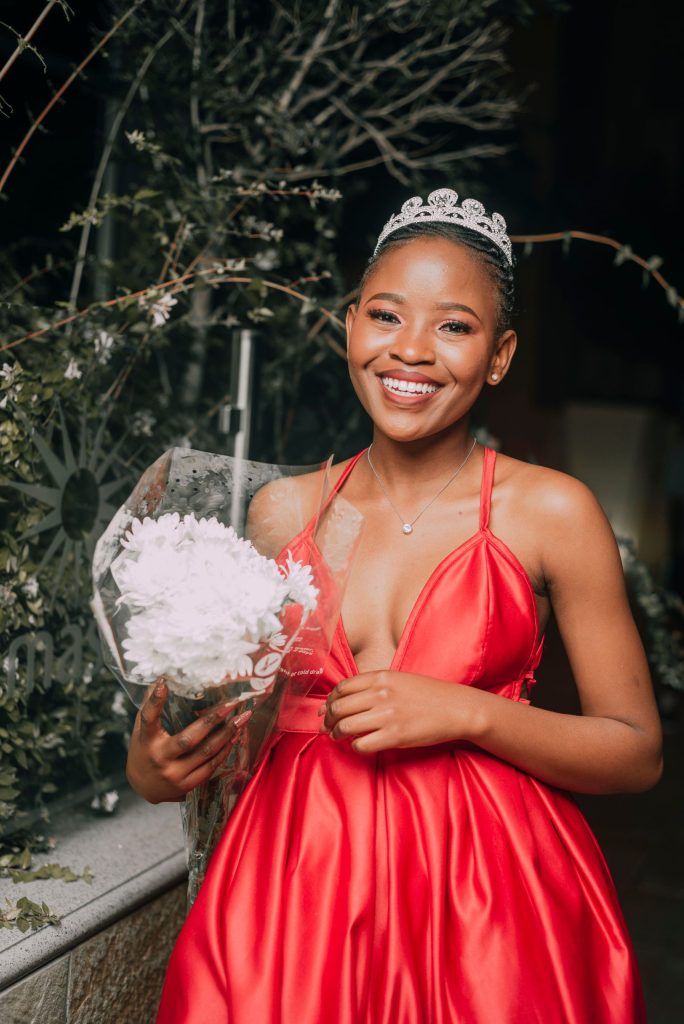
Prom night is going to be one of the most photographed events of high school. Therefore, your makeup cannot be anything but flawless. You need to give “effortless” while staying flashback-free under the harsh camera flashes.
This Prom makeup tutorial will help you achieve just that and more. So scan through and learn some helpful hacks for photo-ready and long-lasting glam.
Looking for a stress-free glam experience? Book a professional Prom makeup application with Beat by Z.
Pre-Prom Prep
The most crucial step to long-lasting makeup is prepping your skin canvas. Skipping skin prep leads to patchiness and creasing.
Exfoliate:
Apply a mild exfoliant with a low-percentage lactic or glycolic acid. This should be done the evening before the event, to remove dead skin cells. Stay clear of harsh scrubs to prevent skin irritation.
Hydrate:
Apply a light but fast-absorbing moisturizer 10 to 15 minutes before adding any makeup. This gives your skincare time to settle into your skin and prevents your foundation from sliding.
Prime:
Choose a gripping primer for the T-zone of your face to lock down coverage. You could also use a hydrating, silicone-free primer if you have dry skin.
Step-by-Step Prom Makeup Tutorial
Now that the skin prep is done, there are several steps to consider to get the perfect look.
1. Prime and Perfect the Eyes
- First thing to remember is to complete your eye makeup before the base to avoid any eyeshadow fallout ruining your concealer.
- To start, apply an eye primer on the entire lid only (avoid the crease) to intensify colour. Then lightly dust a skin-toned powder over the primer to create a smooth surface.
2. Build the Eye Look
- Sweep a matte warm brown eyeshadow shade into the crease with a fluffy blending brush.
- Then press a gold, or rose-gold shimmer into the center of the eyelid using your finger or a damp flat packing brush.
- On the outer “V” add a rich espresso or chocolate shadow, blending inward with a tapered fluffy brush.
- Finally,line the eyes with a waterproof dark brown or black gel liner. The trick is to line in one stroke toward the eye then build it up gently. And Top off with waterproof mascara or optional false lashes.
3. Create a Flashback-Proof Base
- For foundation, choosea buildable satin or soft-matte foundation. Make sure toavoid foundations with SPF, as these cause white flashback.
- Stipple the foundation on with a dense brush, then blend with a damp sponge for a skin-like finish.
- Apply a hydrating concealer beneath the eyes, along the nose bridge, on the forehead, and on the center of the chin. Blend out with the sponge.
4. Layer Cream Sculpting & Flush
All cream products should go first before considering setting powder.
- Blend a cream bronzer or contour a bit above the hollows of the cheeks and along the hairline to add warmth.
- Then tap a liquid or cream blush into the high points of the cheeks, blending towards the temples for a lifted look.
5. Set and Lock
- Press a translucent, fine loose setting powder beneath the eyes and on the T-zone (where the concealer was applied) with a powder puff. Let it sit for 40 seconds then gently dust off the excess with a soft brush.
- Layer a light sweep of powder blush exactly where you placed the cream blush and powder contour where the liquid was.
6. Define Brows and Lips
- Next fill in sparse areas in the brow using light hair-like strokes with a sharpened brow pencil. You can then lock hairs in place with a brow gel.
- Don’t forget to overline the lips with a brown lip liner shade which matches your actual undertones. Fill in with a creamy lipstick or a lip stain, and top everything up with a smooth gloss.
7. Melt & Seal
Melt the products on your face with a hydrating mist to dissolve any powder and mesh the layers together. Once dry, fix everything in place with a strong, transfer-proof setting spray.
Pro-Tips for Camera-Ready Results
| Focus Area | Hack |
| Flash Photography | Avoid setting powders with silica high on the ingredient list; they behave like tiny mirrors under a flash, leading to severe white patches. |
| Touch-Up Kit | Pack blotting sheets, a lip gloss, and a compact powder puff loaded with setting powder in your bag |
| Tone Matching | Don’t forget to extend your foundation down to your neck. This is to keep the look in the same skin tone as your body. |
Pro Tip: Make sure to take a test photo using a camera flash in a dimly lit room. This allows you to check for any unexpected flashback while you have time to change it.